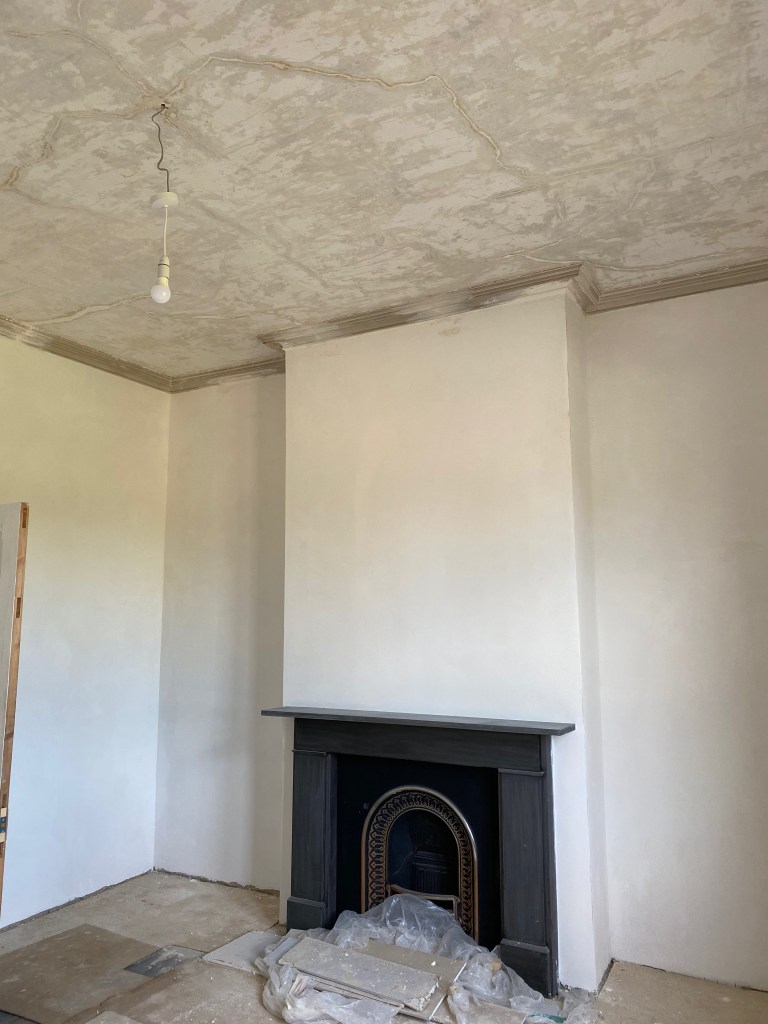
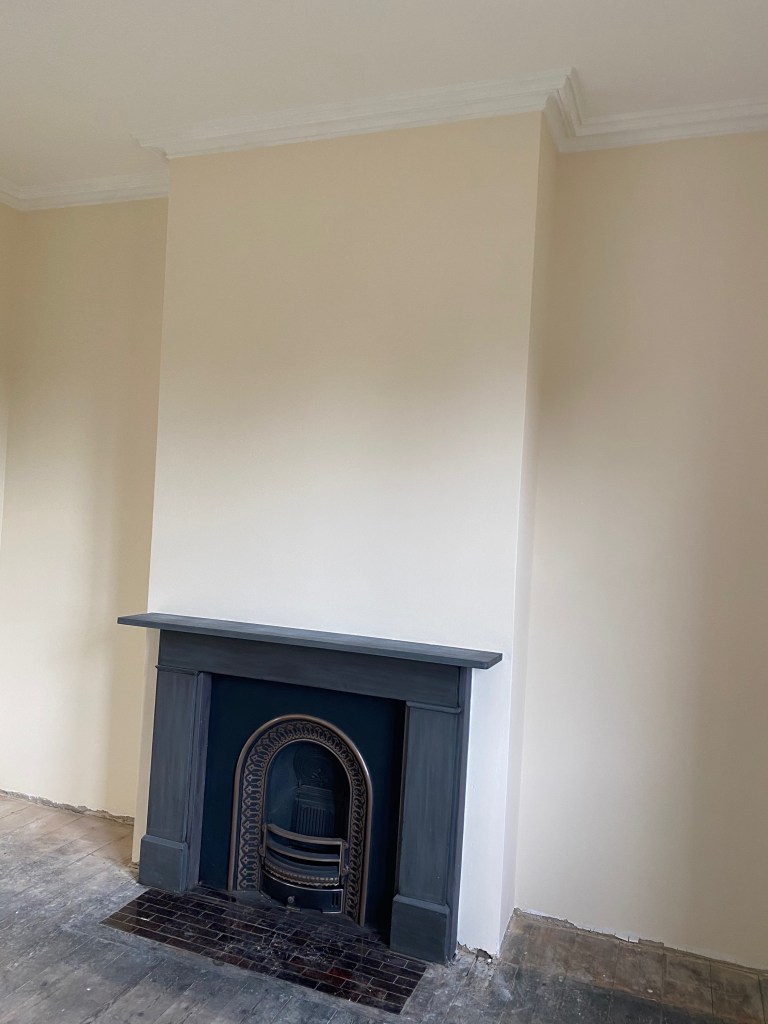
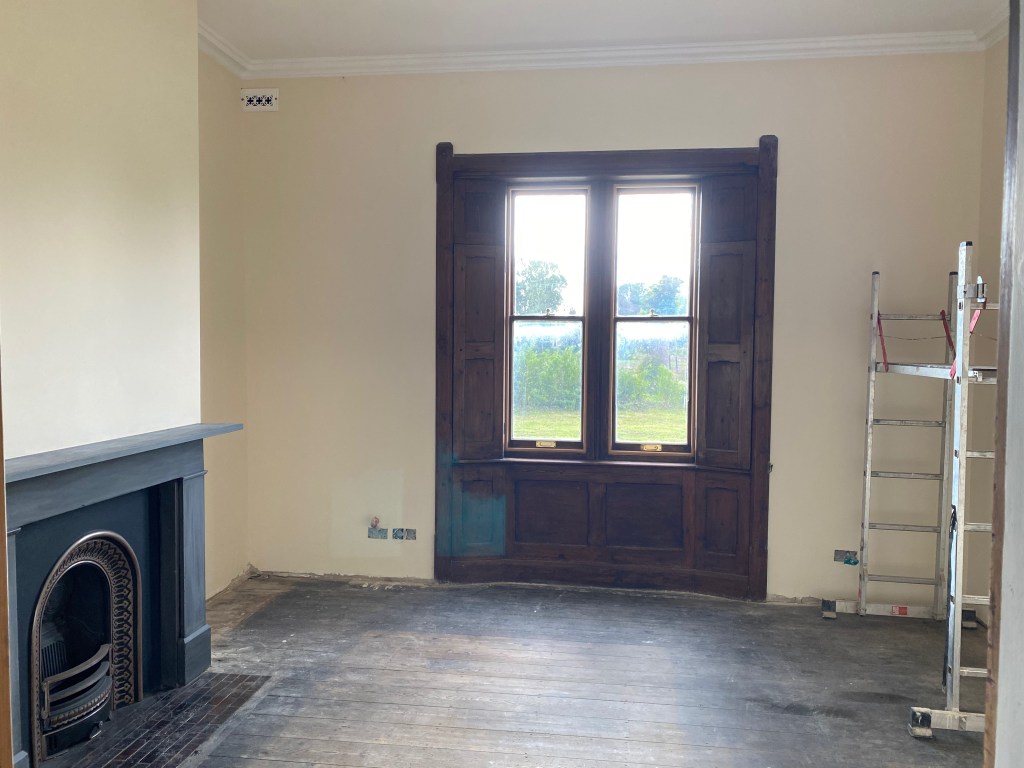
Although the dining room ceiling had some damage to it, the lath are pretty solid. There is no sagging in the ceiling and where the cracks have appeared with the modernisation work, the cracks are just that, there is no visual difference (level).
First of all, one hundred and fifty years of emulsion was removed from the ceilings. Not really an easy way to do this. You just get up a ladder or scaffold and scrape it, making sure you don’t gouge the ceiling. You’ll think your arm has fell off after the first day!
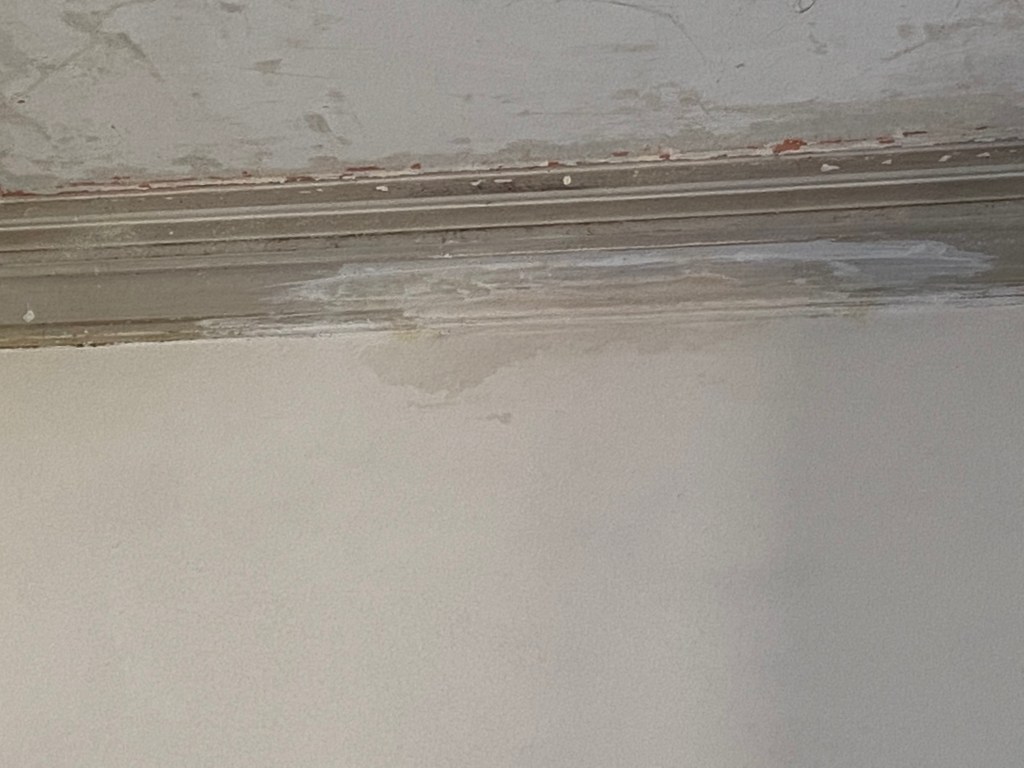
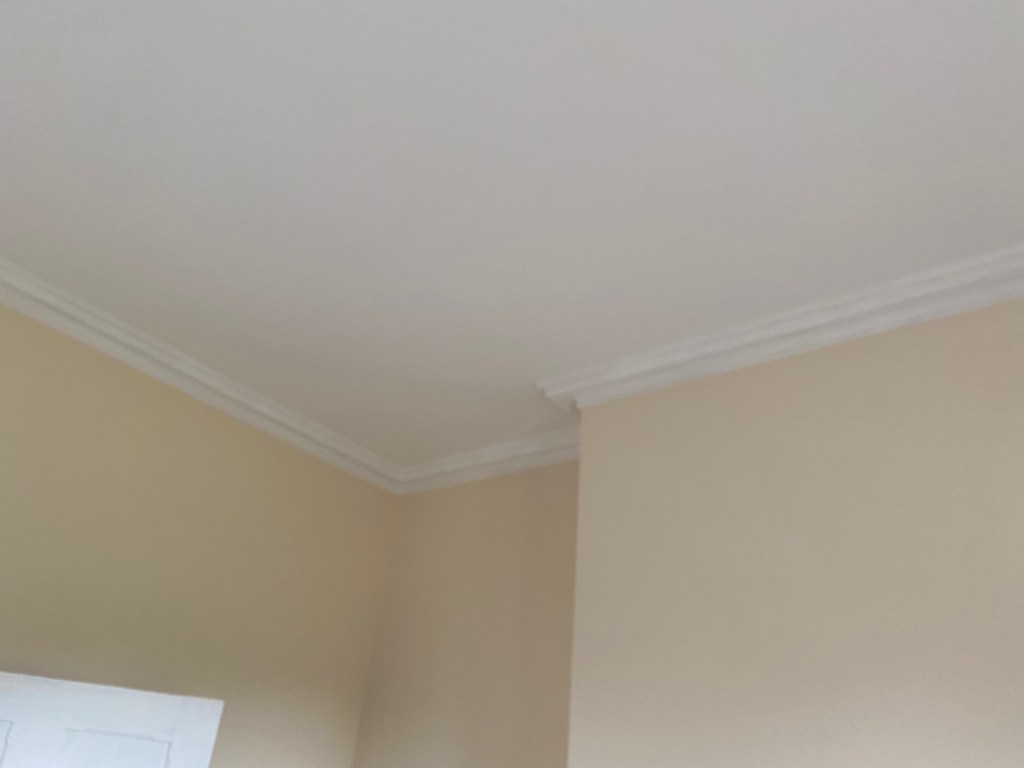
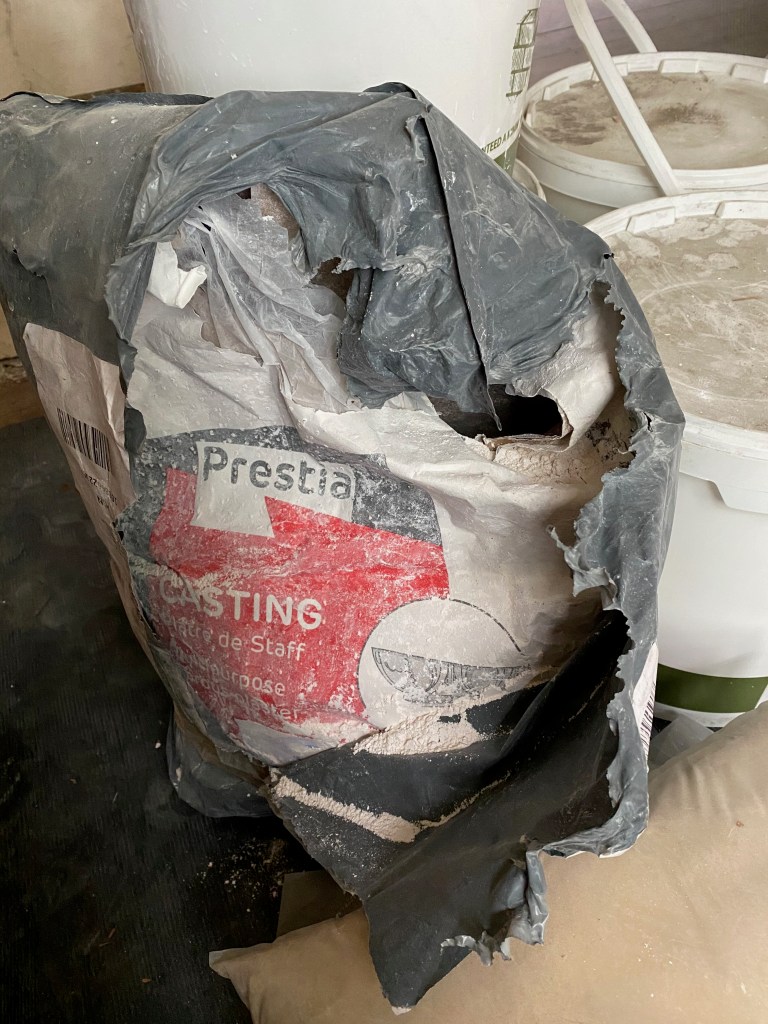
The next stage is to start the repair. For this a casting powder was used (see the photo, for the bag) to repair the cracks and also to repair the damaged moulding. No casts were taken, as complete sections were not missing. Instead a paper template was made and then transferred to a piece of plastic. This was used to slide along the moulding to check the plaster repairs were matching the original moulding.
The areas in the moulding are quite simple in design, so a small tool with a small rounded head sufficed to apply the casting plaster, it is best to spend more time applying and less time sanding as it is a repair.
Time wise the ceiling and moulding took one week to repair, not a quick job and a day to scrape the ceiling.
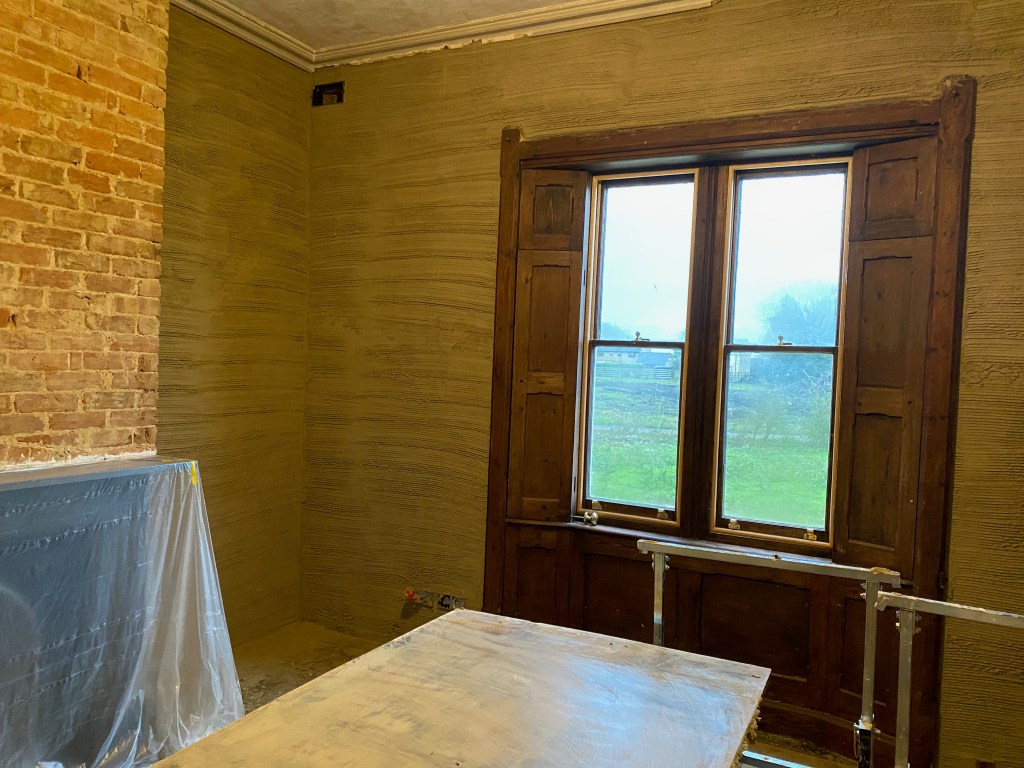
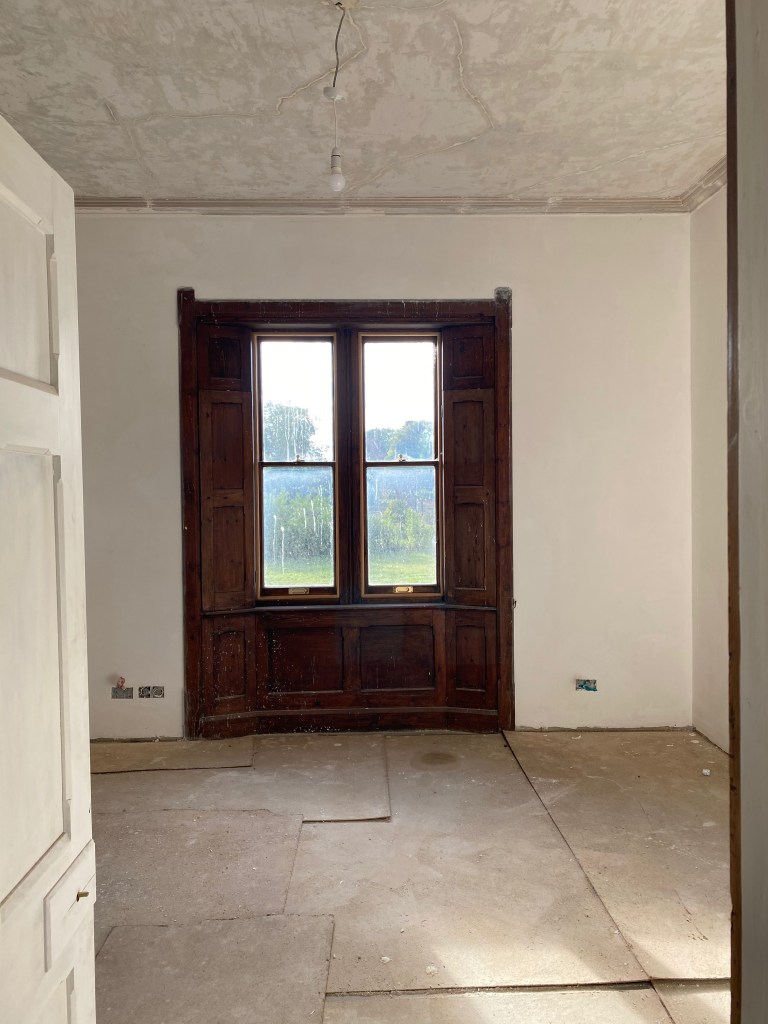
You can see in the pictures that the walls were lime plastered first. Three coats of lime plaster, two days approximately per coat. between each coat, you need to leave drying time. So, the walls took a couple of weeks or so to do before the ceiling was commenced.

Leave a comment